Introduction
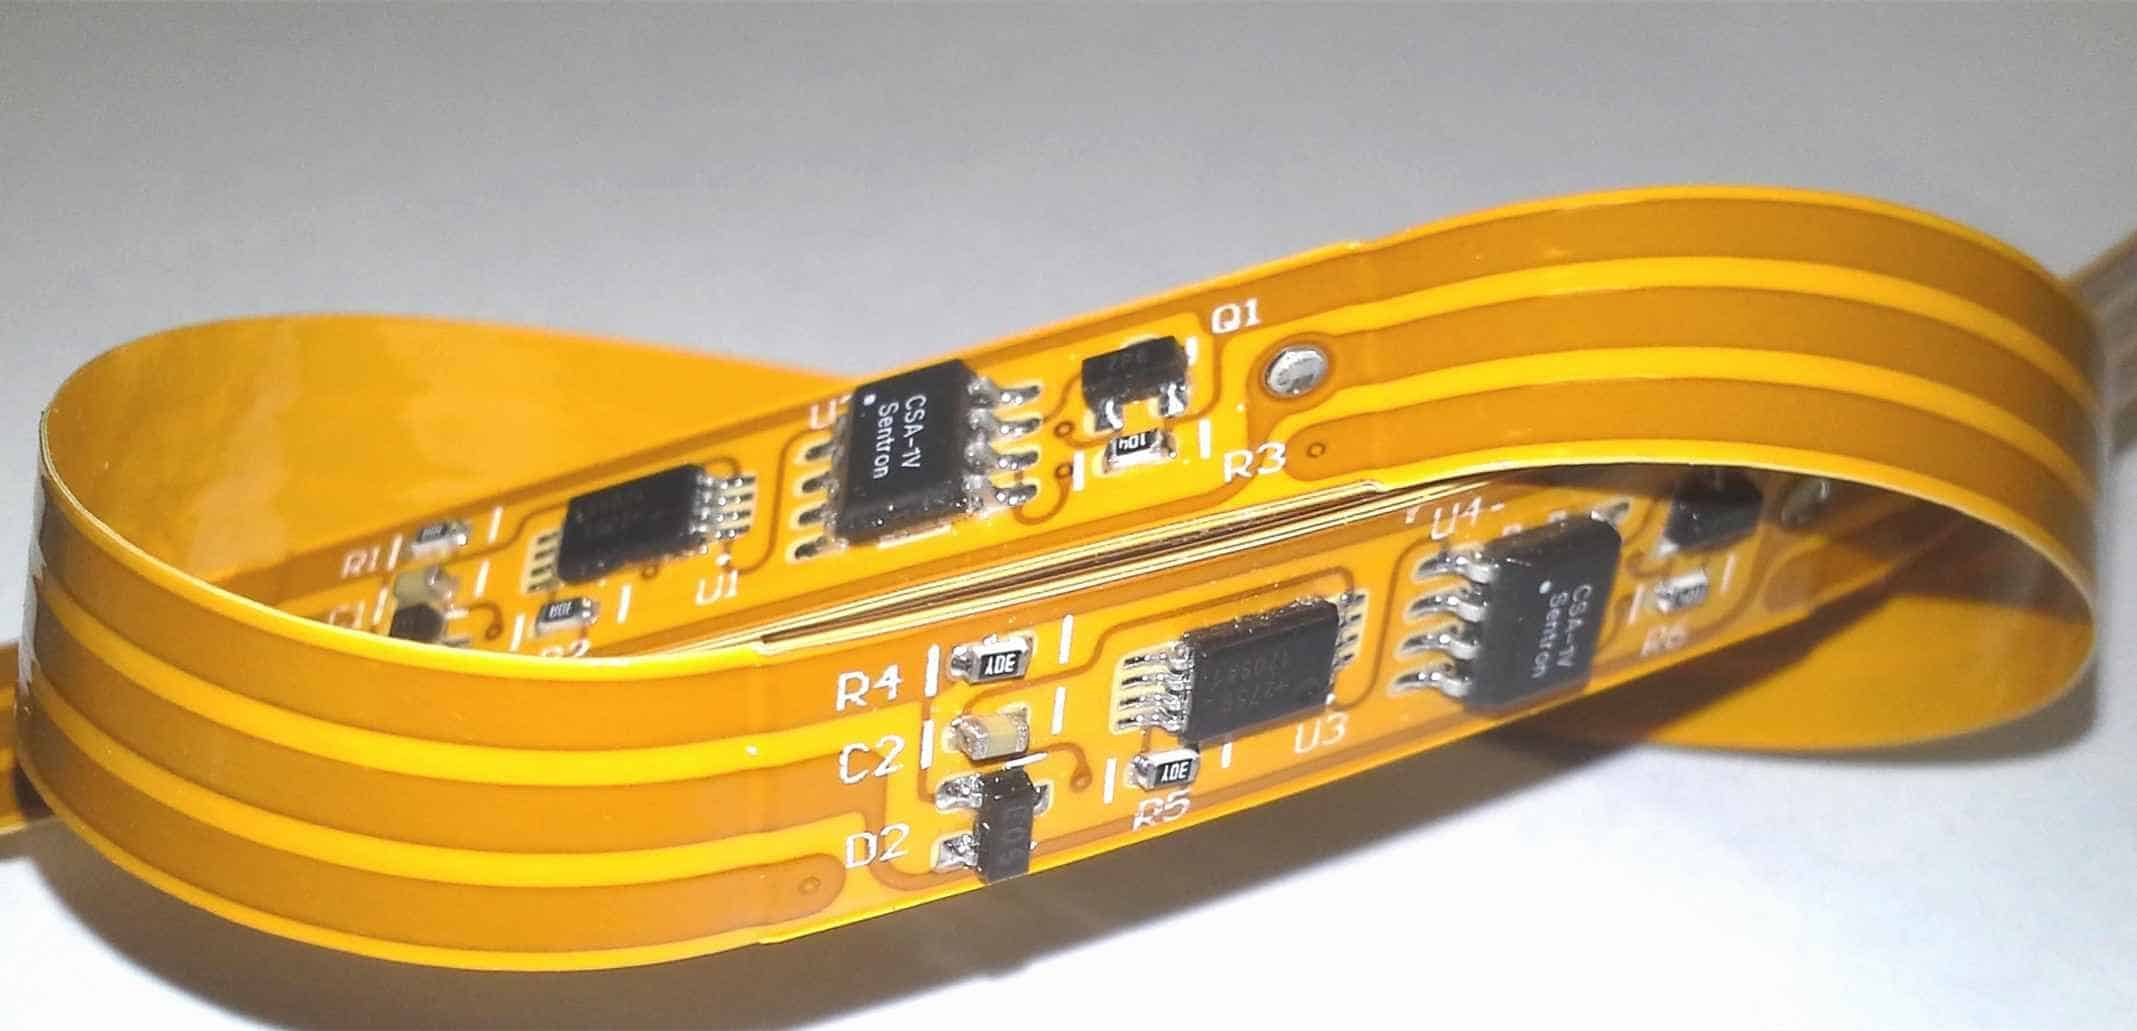
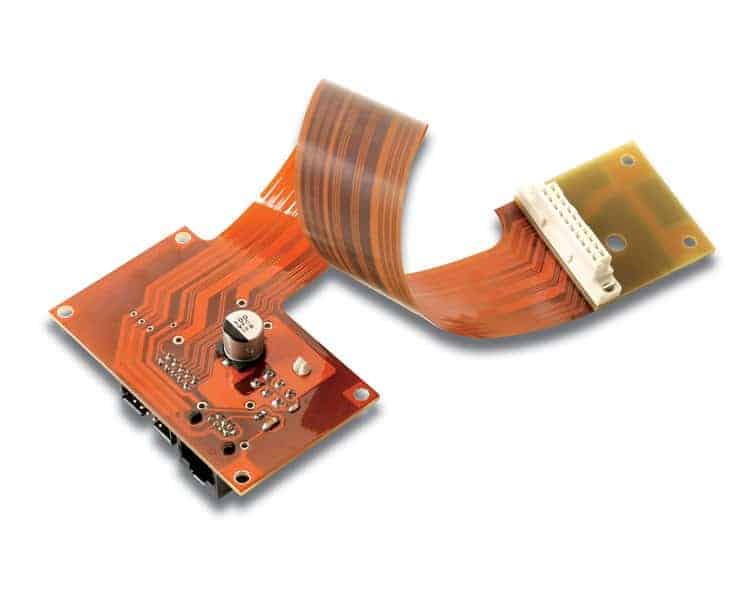
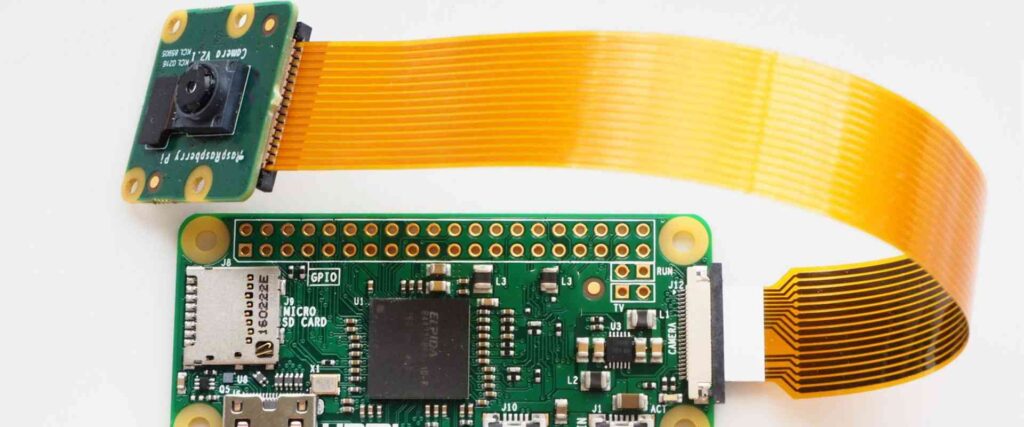
Flex PCBs (Flexible printed circuit boards) have become increasingly popular in modern electronics due to their ability to bend and flex to fit into tight spaces. However, soldering flex PCBs can be more challenging than soldering traditional rigid PCBs. Proper flex PCB soldering technique is critical to creating reliable solder joints that can withstand flexing without cracking or failing over time.
This guide covers key considerations, best practices, and tips for successfully hand soldering and reworking flex PCB assemblies. Proper preparation, materials selection, soldering methods, inspection, and rework will be discussed.
Flex PCB Soldering Challenges
Flex PCBs present some unique challenges for soldering:
- Flexing – The flexing motion can cause stress on solder joints, increasing chances of cracking or failure over time.
- Thin traces – Traces are often thinner than on rigid boards, increasing chances of overheating during soldering.
- Delamination – The flexible substrate is prone to delamination and damage from heat.
- Warping – Flex PCBs can warp or change shape during soldering as the solder cools and contracts.
- Limited access – Components may be mounted on both sides, limiting access for soldering and inspection.
Proper materials selection, preparation, soldering methods, inspection, and rework is key to overcoming these challenges.
Soldering Materials
Choosing the right soldering materials is an important first step for flex PCB soldering.
Solder
For hand soldering, a no-clean solder with a Sn96.5/Ag3/Cu0.5 composition is recommended. This alloy offers good wetting action to form reliable joints, combined with good flex fatigue performance. Solder with a 0.015 to 0.020 inch diameter should be suitable for most PCB assembly.
Flux
A high-quality no-clean flux designed for flex PCB soldering should be used. The flux aids in wetting and produces clean joints without leaving behind residues that can lead to shorts or reliability problems. Flexible PCB safe fluxes prevent the flexible substrate from de-laminating or warping during soldering.
Rework Flux Pens
Rework flux pens containing flexible PCB safe flux can be used during rework to improve wetting and reflow of existing solder joints.
Board Preparation
Proper PCB preparation is key to flex PCB soldering success:
- Secure the board – Use clamps, vises, or weights to keep the flex PCB flattened during soldering. Avoid putting excessive tension on the board.
- Clean – Clean the board with isopropyl alcohol to remove dirt, oils, and other contaminants prior to soldering.
- Apply solder mask – Apply solder mask to exposed copper traces to prevent solder bridges. Liquid photoimageable or UV curable solder masks are ideal for flex PCBs.
- Pre-tin pads – Pre-tinning pads, conductors, and component leads will improve wetting and heat conduction during soldering.
Soldering Methods
There are several effective hand soldering methods that can be used for flex PCB assemblies:
Reflow
Reflow soldering involves gradually heating joints with a soldering iron until the solder reflows and adheres to the pads and component leads. Use a fine tip iron around 700°F (371°C) with chisel or conical tips. Apply tip to pad contact while heating both pad and component lead to form each joint.
Drag Soldering
The iron tip is placed in contact with the pad area and moved along the joint to gradually heat and flow the solder. A small chisel tip is typically used. Maintain even heating while dragging the iron along the joint.
Surface Mount Reflow
For soldering SMD components, convective hot air tools allow simultaneous heating of all solder joints on the board for proper reflow. Use around 650-700°F (343-371°C) for lead-free solder. Avoid excessive airflow.
Preheating
Preheating the board to 100-150°C prior to soldering helps prevent thermal shock and delamination by slowly bringing the board up to soldering temperatures. Preheating time depends on board size and layer count.
Shielding
Heat sinks or thermal shields can be used to protect sensitive components or areas of the flex PCB from excessive heat during soldering. Small peel-and-stick heat sinks are suitable.
Adhesives
Thermally conductive adhesive can help anchor components and shield sensitive areas from heat damage. Allow adhesives to fully cure before soldering.
Inspection
Thorough inspection of solder joints should be performed:
- Check for complete wetting and fillet formation without voids or joints with insufficient solder. Reflow if needed.
- Watch for solder balls or bridges that can cause shorts. Clean thoroughly.
- Inspect for signs of overheating like delamination, blistering, or discoloration.
- Verify component placement and orientation match circuit schematics.
- Functionally test boards after work to confirm proper connections.
Regular inspection will identify any issues to be addressed through rework.
Rework and Repair
Despite best efforts, some boards may need rework:
Reflowing Joints
Apply rework flux and use a fine tip iron to locally reflow and improve poor joints. Use appropriate temperature to avoid lifting pads.
Removing Solder
Use a solder sucker, solder wick, or flux pen to remove excess solder and correct bridges or shorts. Avoid overheating.
Component Removal
To remove and replace components, use a low melt leaded solder to thoroughly wet all pads while heating to aid removal. Avoid ripping pads. Clean and re-tin pads before replacing component.
Board Repair
Severely damaged boards may need professional repair involving trace rerouting, pad repair, or laminate patching. Repairs are limited – fully damaged boards may need to be replaced if operation is critical.
Flex PCB Soldering Tips
Follow these tips for better flex PCB soldering results:
- Work in short 3-5 second intervals to avoid overheating. Allow cooling between passes.
- Use lowest effective iron temperature to avoid damaging boards.
- Apply minimum needed pressure – excessive pressure can damage pads.
- Keep tips clean and freshly tinned to maintain heat transfer.
- Use a fume extractor to remove harmful flux vapors.
- Carefully follow all directional arrows and marks on the flex board.
- Avoid putting tension or torque on joints during cooling. Allow joints to solidify undisturbed.
FQA
What temperature should I use for soldering flex PCBs?
For hand soldering, around 700°F (371°C) is ideal. You want the lowest temperature that still allows you to melt solder and form joints properly without excess heat damage.
What size solder tip is best for flex PCBs?
Fine conical or chisel style soldering tips between 1/32″ to 1/16″ width give the best precision and temperature control. The tip size depends on the components and trace sizes.
Can I use lead-based solder on flex PCBs?
Lead-based solders are not recommended for flex PCBs as they are less ductile and more prone to flex failures. Lead-free tin-silver-copper solder is preferred for it’s strength and flexibility.
How can I prevent warping when soldering flex PCBs?
Preheating, using thermally conductive adhesive to anchor components, minimizing heat by soldering in short bursts, and securing the board with clamps during soldering will help prevent warping.
How do I inspect and rework solder joints on flex PCBs?
Carefully examine joints under magnification for acceptable wetting, fillets, placement, and signs of damage. Reflow joints with insufficient solder. Remove excess solder causing shorts. Replace damaged components using low melt solder and appropriate heat levels.


Leave a Reply